
![]()
While developing ios app, sometime we don’t just testing run the app on ios simulator we also need to test the app on real device though.
The are couple of things that we need to prepare to make our app be able to run on real devices.
Certificate
Development certificate basically tells us that we are apple developers. To be it, our apple id has to be enrolled as an apple developer. Information about apple developer enrollment can be found at Apple Developer site.
Once our apple id enrolled as an apple developer, there are couple of steps for preparing development certificate. App need to be signed to be able to deployed to real devices. To do that:
- Go to
LaunchpadorSpotlight Search, typeKeychain Accessthen open the app. - At top menu, click
Keychain Access>Certificate Assistance>Request a Certificate from a Certificate Authority Fill the
 EmailandCommon Name. The email should beapple id emailthen selectsave to diskand checkedLet me specify key pair information. When we click continue, we should get save dialog Select Key Size
 2048 bitsandRSAalgorithm, click continue then done. The certificate request that we create just saved to disk (desktop in my case).
-
Open apple developer portal, login using apple id that already enrolled as apple developer.
 click
click Certificates, Identifiers and Profiles -
Select
Sertificatesgroup >All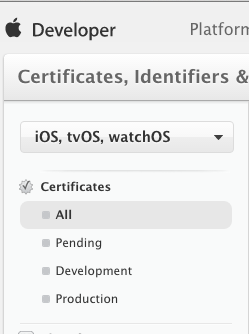 On the right pane, select
 add (+)button, select type of certificate that we want to create. At this post we will create for development only. Not for production such as for deploy our app in app store nor internal store (in-house) like mobile device management. If everything already done on this page, scroll down > click
 continueWe may notice a information message that we have to ensure on our OS X development machine keychain installedWorldwide Developer Relations Certificate Authority
-
Follow the wizard, till we're asked to upload our certificate request that we already created on previous step.

-
After completed the wizard, we should be able to download the generated certificate and ready to install on development machine.
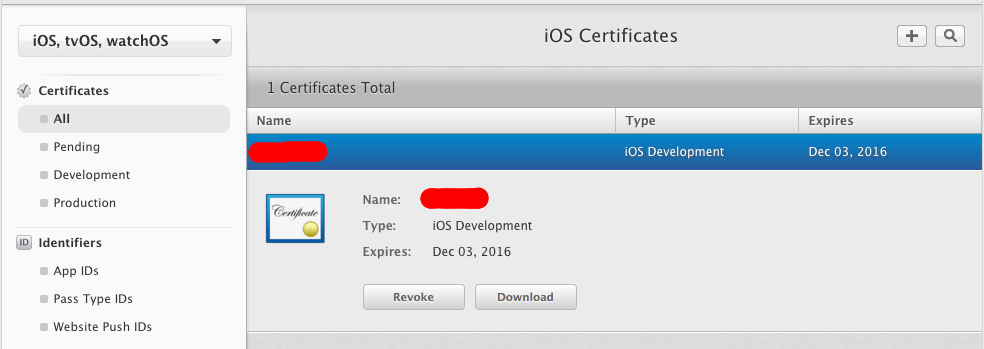
-
Download the
development certificate> double click. The certificate should be installed on ourKeychain Access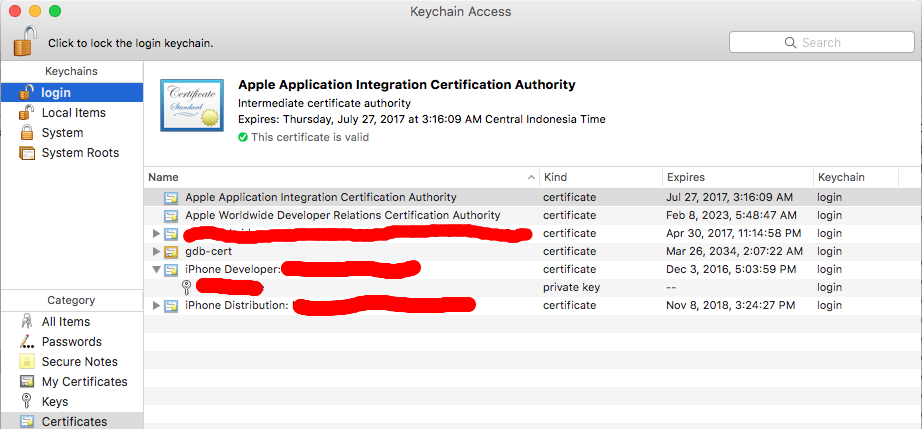
NOTE :
Please ignore the distribution certificate on my screenshot. It just another certificate for distribution which is out of scope of this post.
Devices
This part informs to the xcode that the device is belongs to me. So let me run my app on it. To register our devices, select Devices on the apple developer portal as we did for certificate section above.
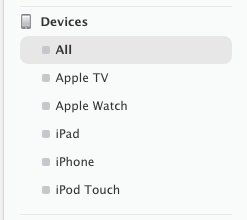
Click add (+)
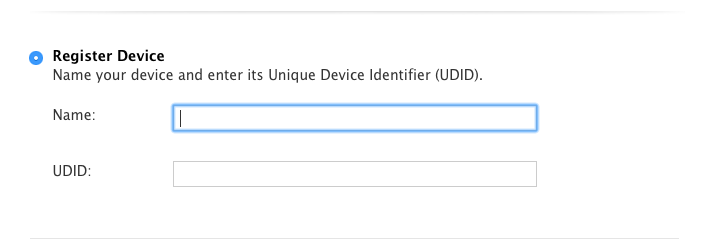
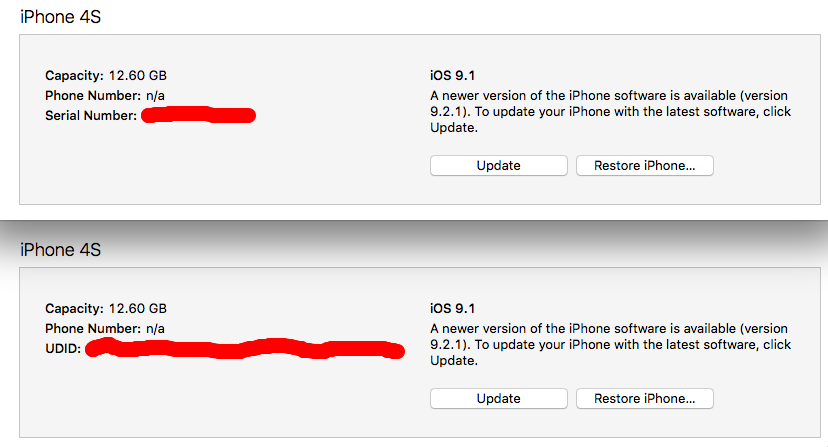
Enter Name and UUID. To get UUID, plug idevice to computer, itune will display it. If itune display Serial Number or ECID or Product Type, click the label till UUID displayed. Just copy it and paste in the UUID text box above.
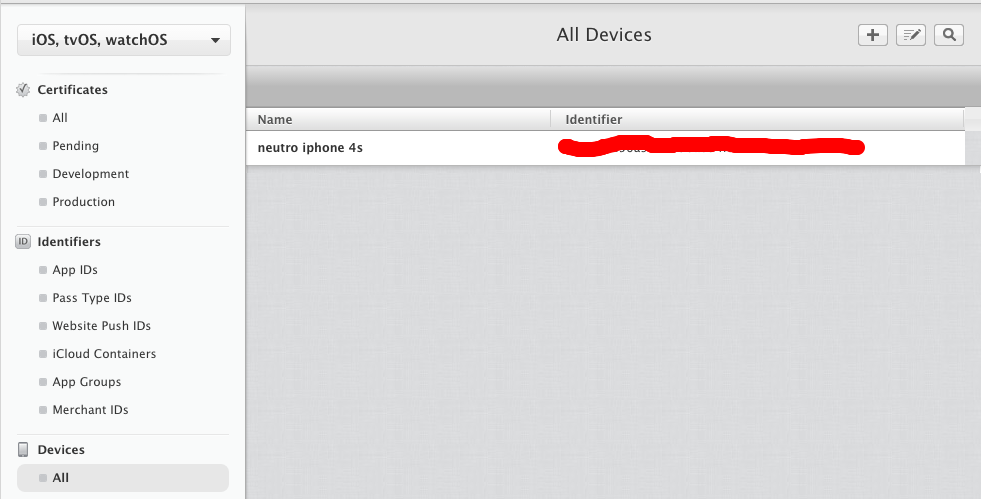
Follow the wizard till finish. We should be able to get our idevices listed on the device list.
App IDs
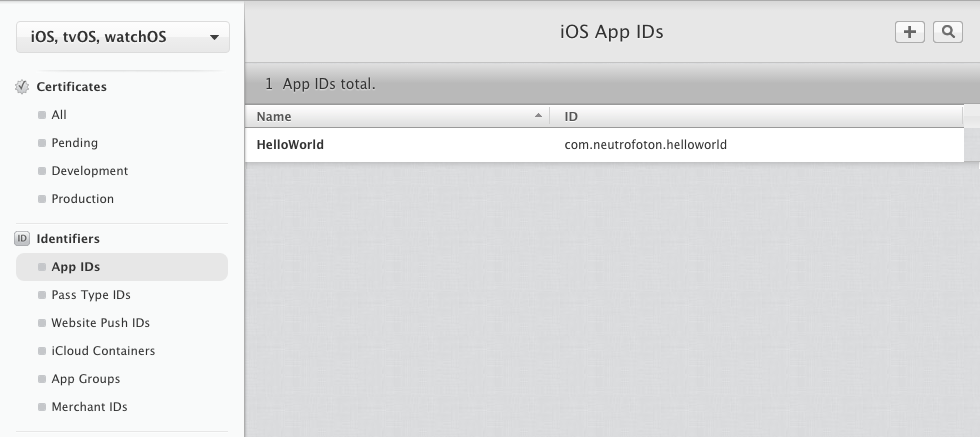
On Apple developer portal mentioned that an App ID is a string that defines both a keychain identity and a set of apps you are developing. Its primary use is as part of a provisioning profile, it specifies which apps are authorized by the profile to be signed and launched.
To register App ID, click Add (+). Fill Name and Bundle ID.
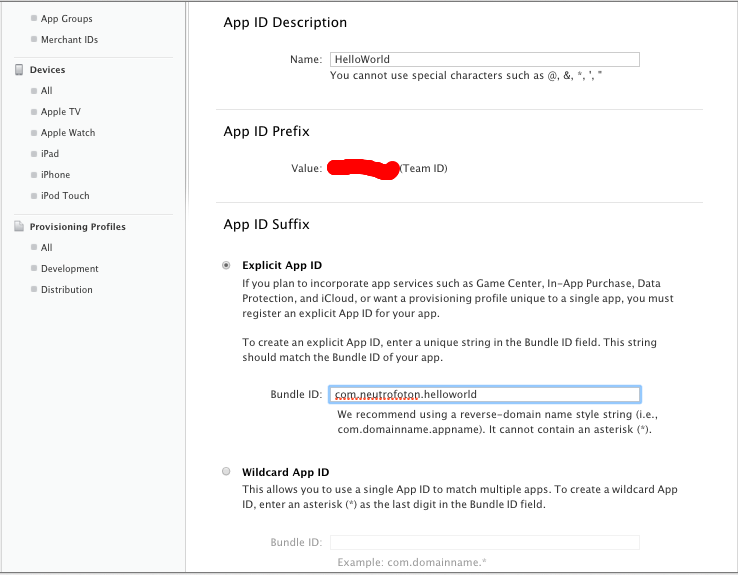
In this sample, my application Name is HelloWorld and Bundle ID is com.neutrofoton.helloworld
Click continue till the wizard dialog finished.
We can get list all of App IDs that we registered by clicking the App IDs on the left menu panel
Provisioning Profiles
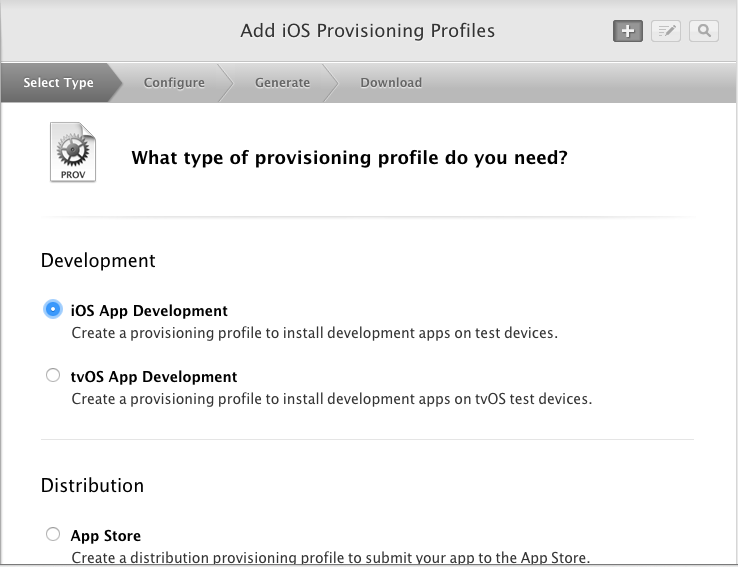
On Apple Developer portal Provisioning Profiles defined that it allows us to install apps onto our iOS devices. A provisioning profile includes signing certificates, device identifiers, and an App ID. Development provisioning profiles are used to build and install versions of our app during the development cycle, while distribution provisioning profiles are used to submit our apps to the App Store and distribute them to beta testers.
To start create provisioning, click add (+) select iOS App Development. In this case I will create provisioning for test. For distribution we select on distribution group option as our need.
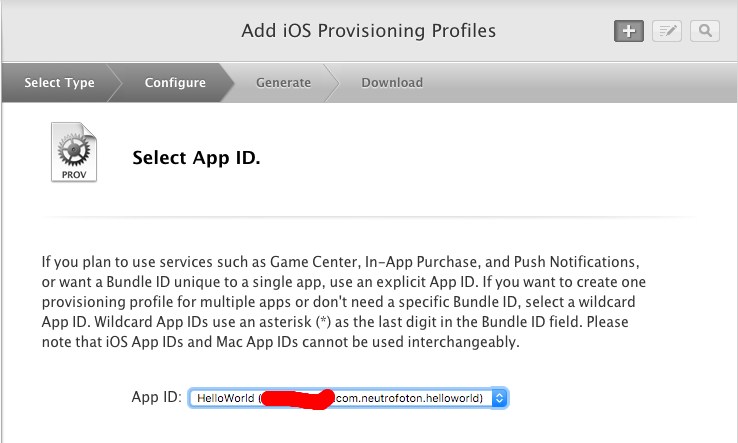
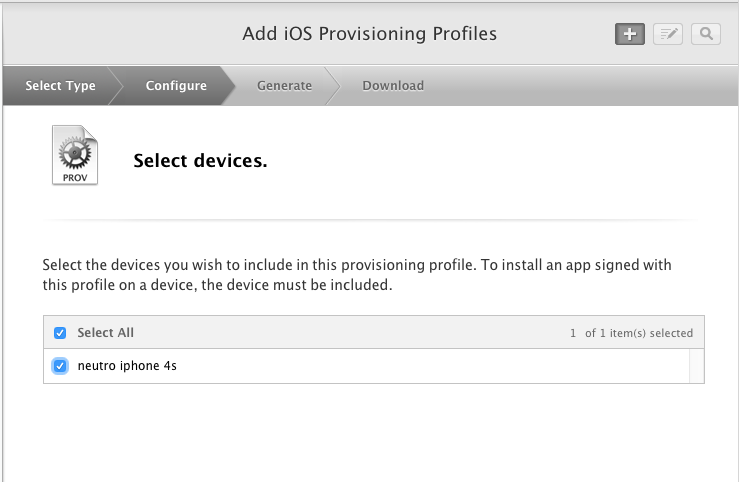
Follow the wizard by selecting App ID, Devices, and Certificates that will be applied to the Provisioning Profile


Now open Xcode > Preferences select Accounts tab. Add apple id that we use for login to apple developer portal.
Select the apple id on the left pane > click View Details button.
We should get the similar picture as below.
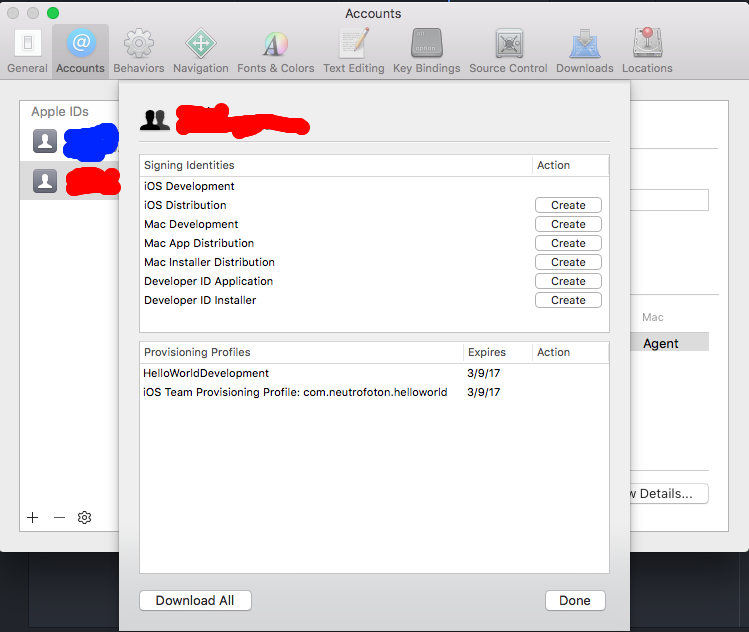
If the profiles are not downloaded yet, we can click Download button that make Xcode do for us.
To test provisioning we created, let’s create simple application. At the time of write this post, my development environment :
- OS X El Capitan (10.11.3)
- Xcode (7.2)
- iphone 4s iOS 9.1


Ensure we have the same Bundle Identifier as we registered on Provisioning Profile. At this sample app, I just create a simple lable Hello World Application on storyboard.
Now run the application by selecting Device instead of Simulator. We may get the following message while running on real device, just click Allow

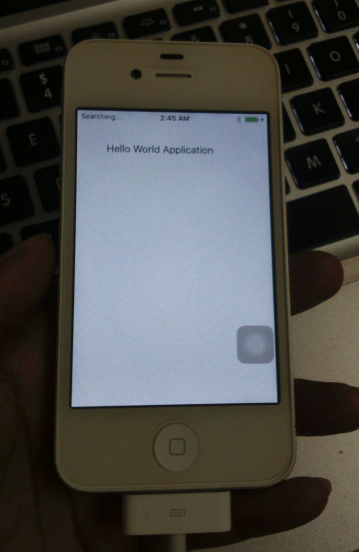
The above picture shows that the Hello World app can be run on real device.